![[Group16]ReelItIn](https://img.itch.zone/aW1nLzIwMzE3MTExLnBuZw==/original/7EPt01.png)
[Group16]ReelItIn
Devlog 4: First week of production
Hello hello and welcome back to the First week of Production! 🥳
This week was all about putting what we learnt during Prototyping into practice and doing it well. So basically, it was redoing a bunch of stuff, thus not a lot will be showcased today. But we are happy to have finally reached this stage :)
Art
Agne
First week of production and lots of work to be done!
Since the first days of production were a bit of a shot in the dark, and we still didn't have a proper scene and blockout, I thought of starting out with making a few basic tools that could help my teammates save time in the future.
First of all: a Master material.
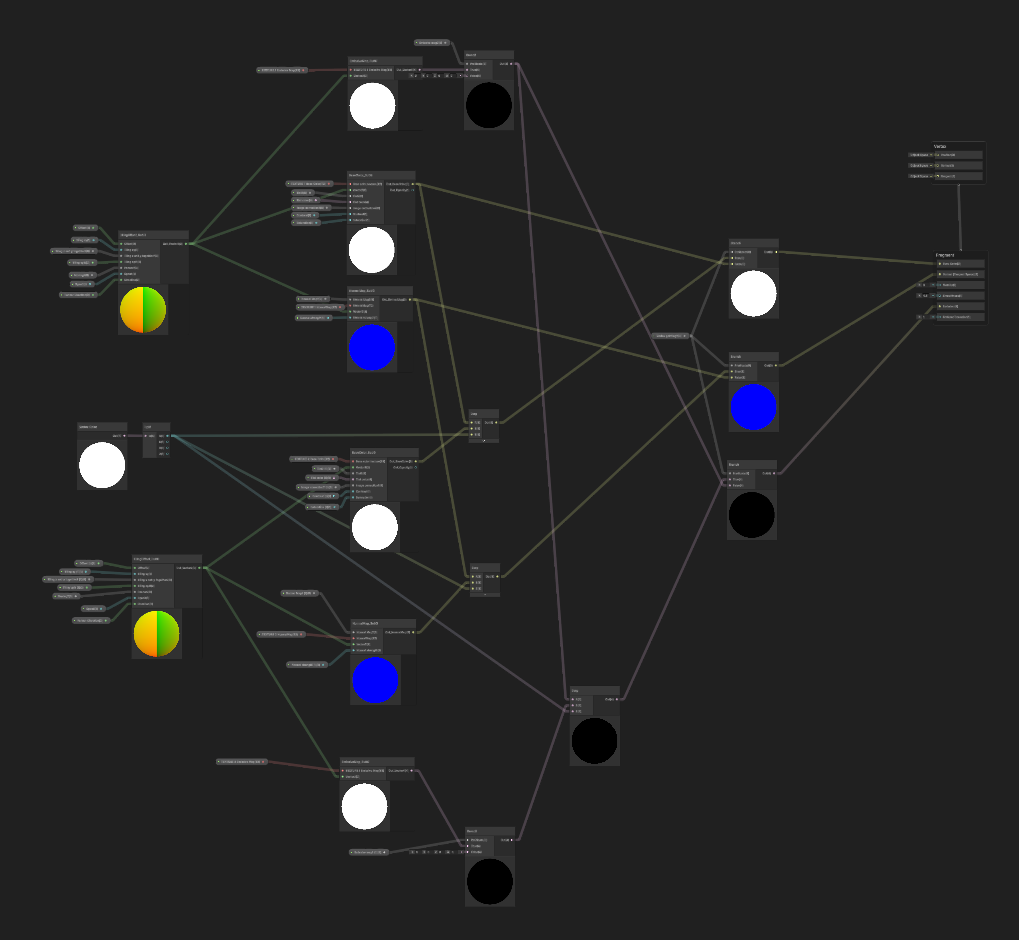
Having a reliable master material has always been at the core of an optimized pipeline. It automates a process that usually takes a huge amount of time and has so many edge cases that need to be taken into account.
Given the nature of our game, I knew I didn't have to go into crazy amounts of detail, but since we chose to avoid PBR I wanted to offer as many options as possible to customize the very simple setup we have.

Not even that bad! Precious subgraphs saved me a lot of headaches and a lot of spaghetti on my graph.
It then occurred to me that we were going to need some sort of blending between materials. During prototyping I had made a quick snow material with a mask, but It looked fake and lacked localization.
Sure, everything can be solved with some vertex painting.

All done! Now we have a shader that is fully implemented for two texture maps. If we are ever in need of more, I will add them.
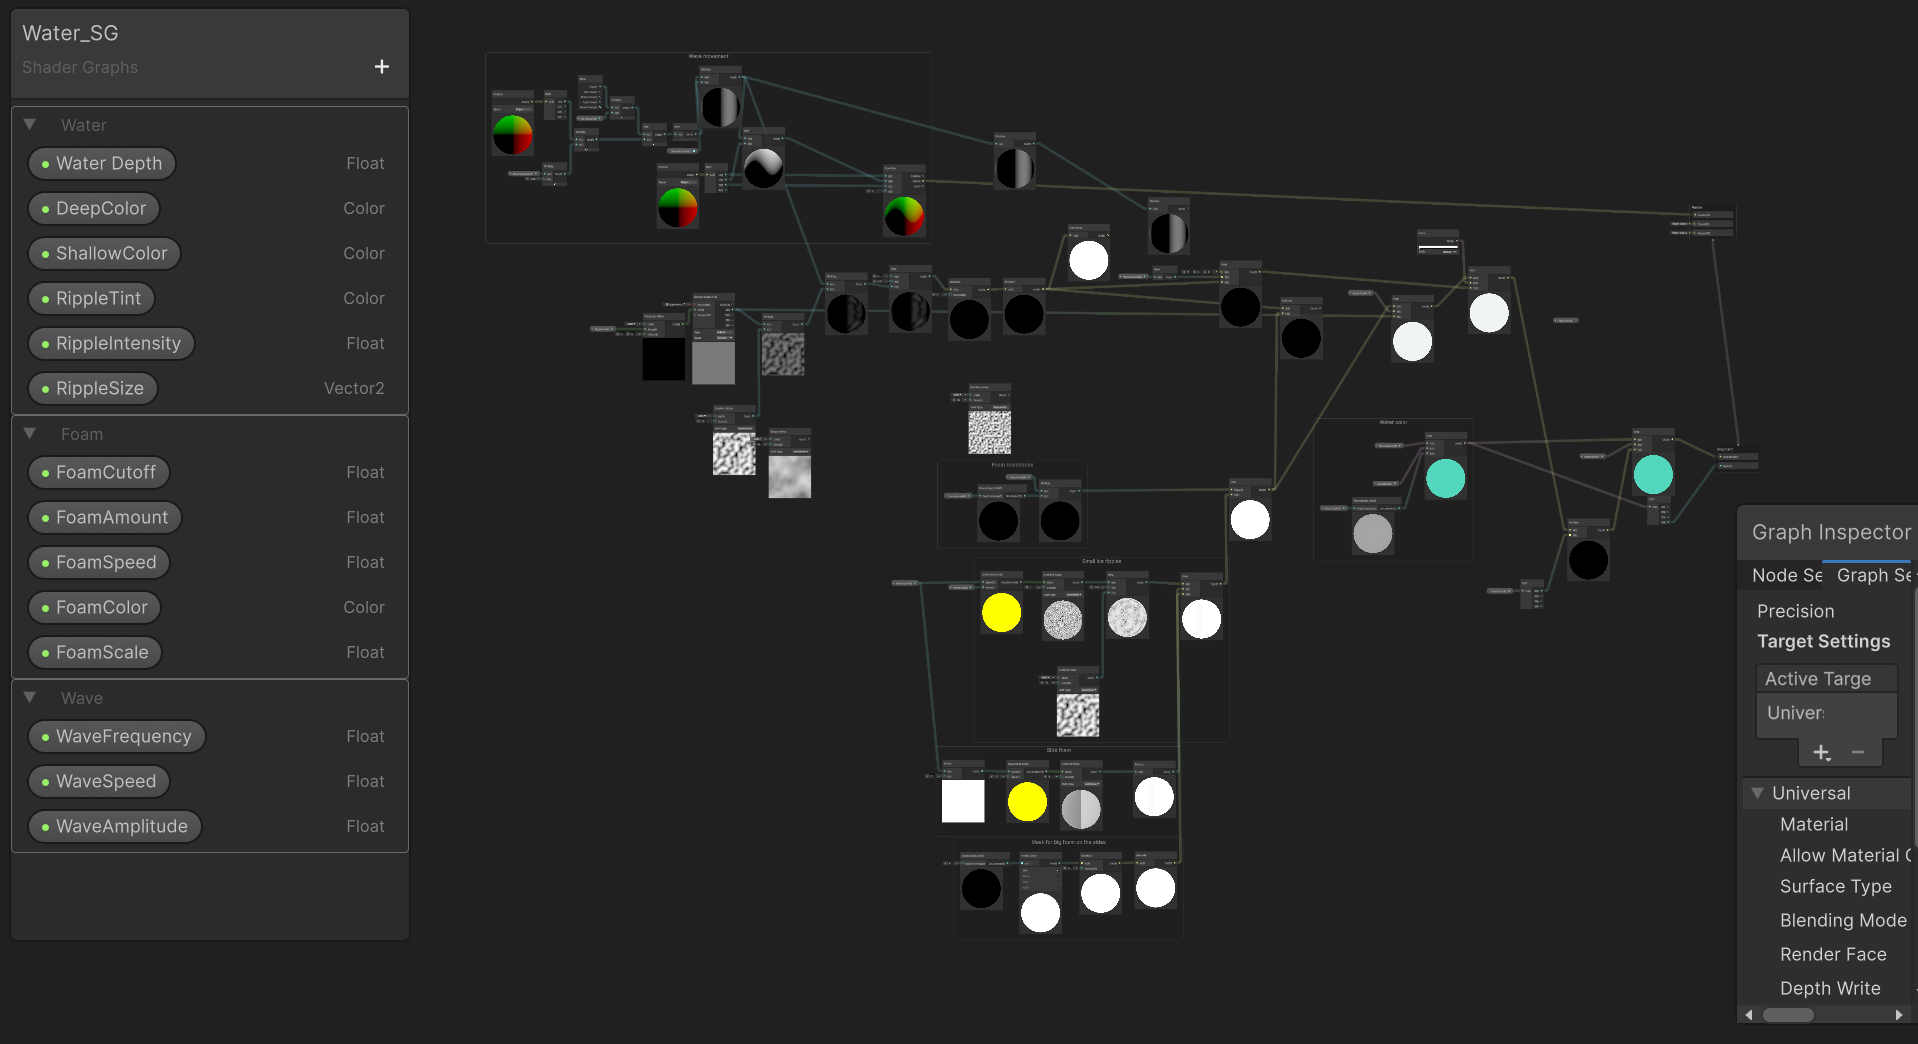
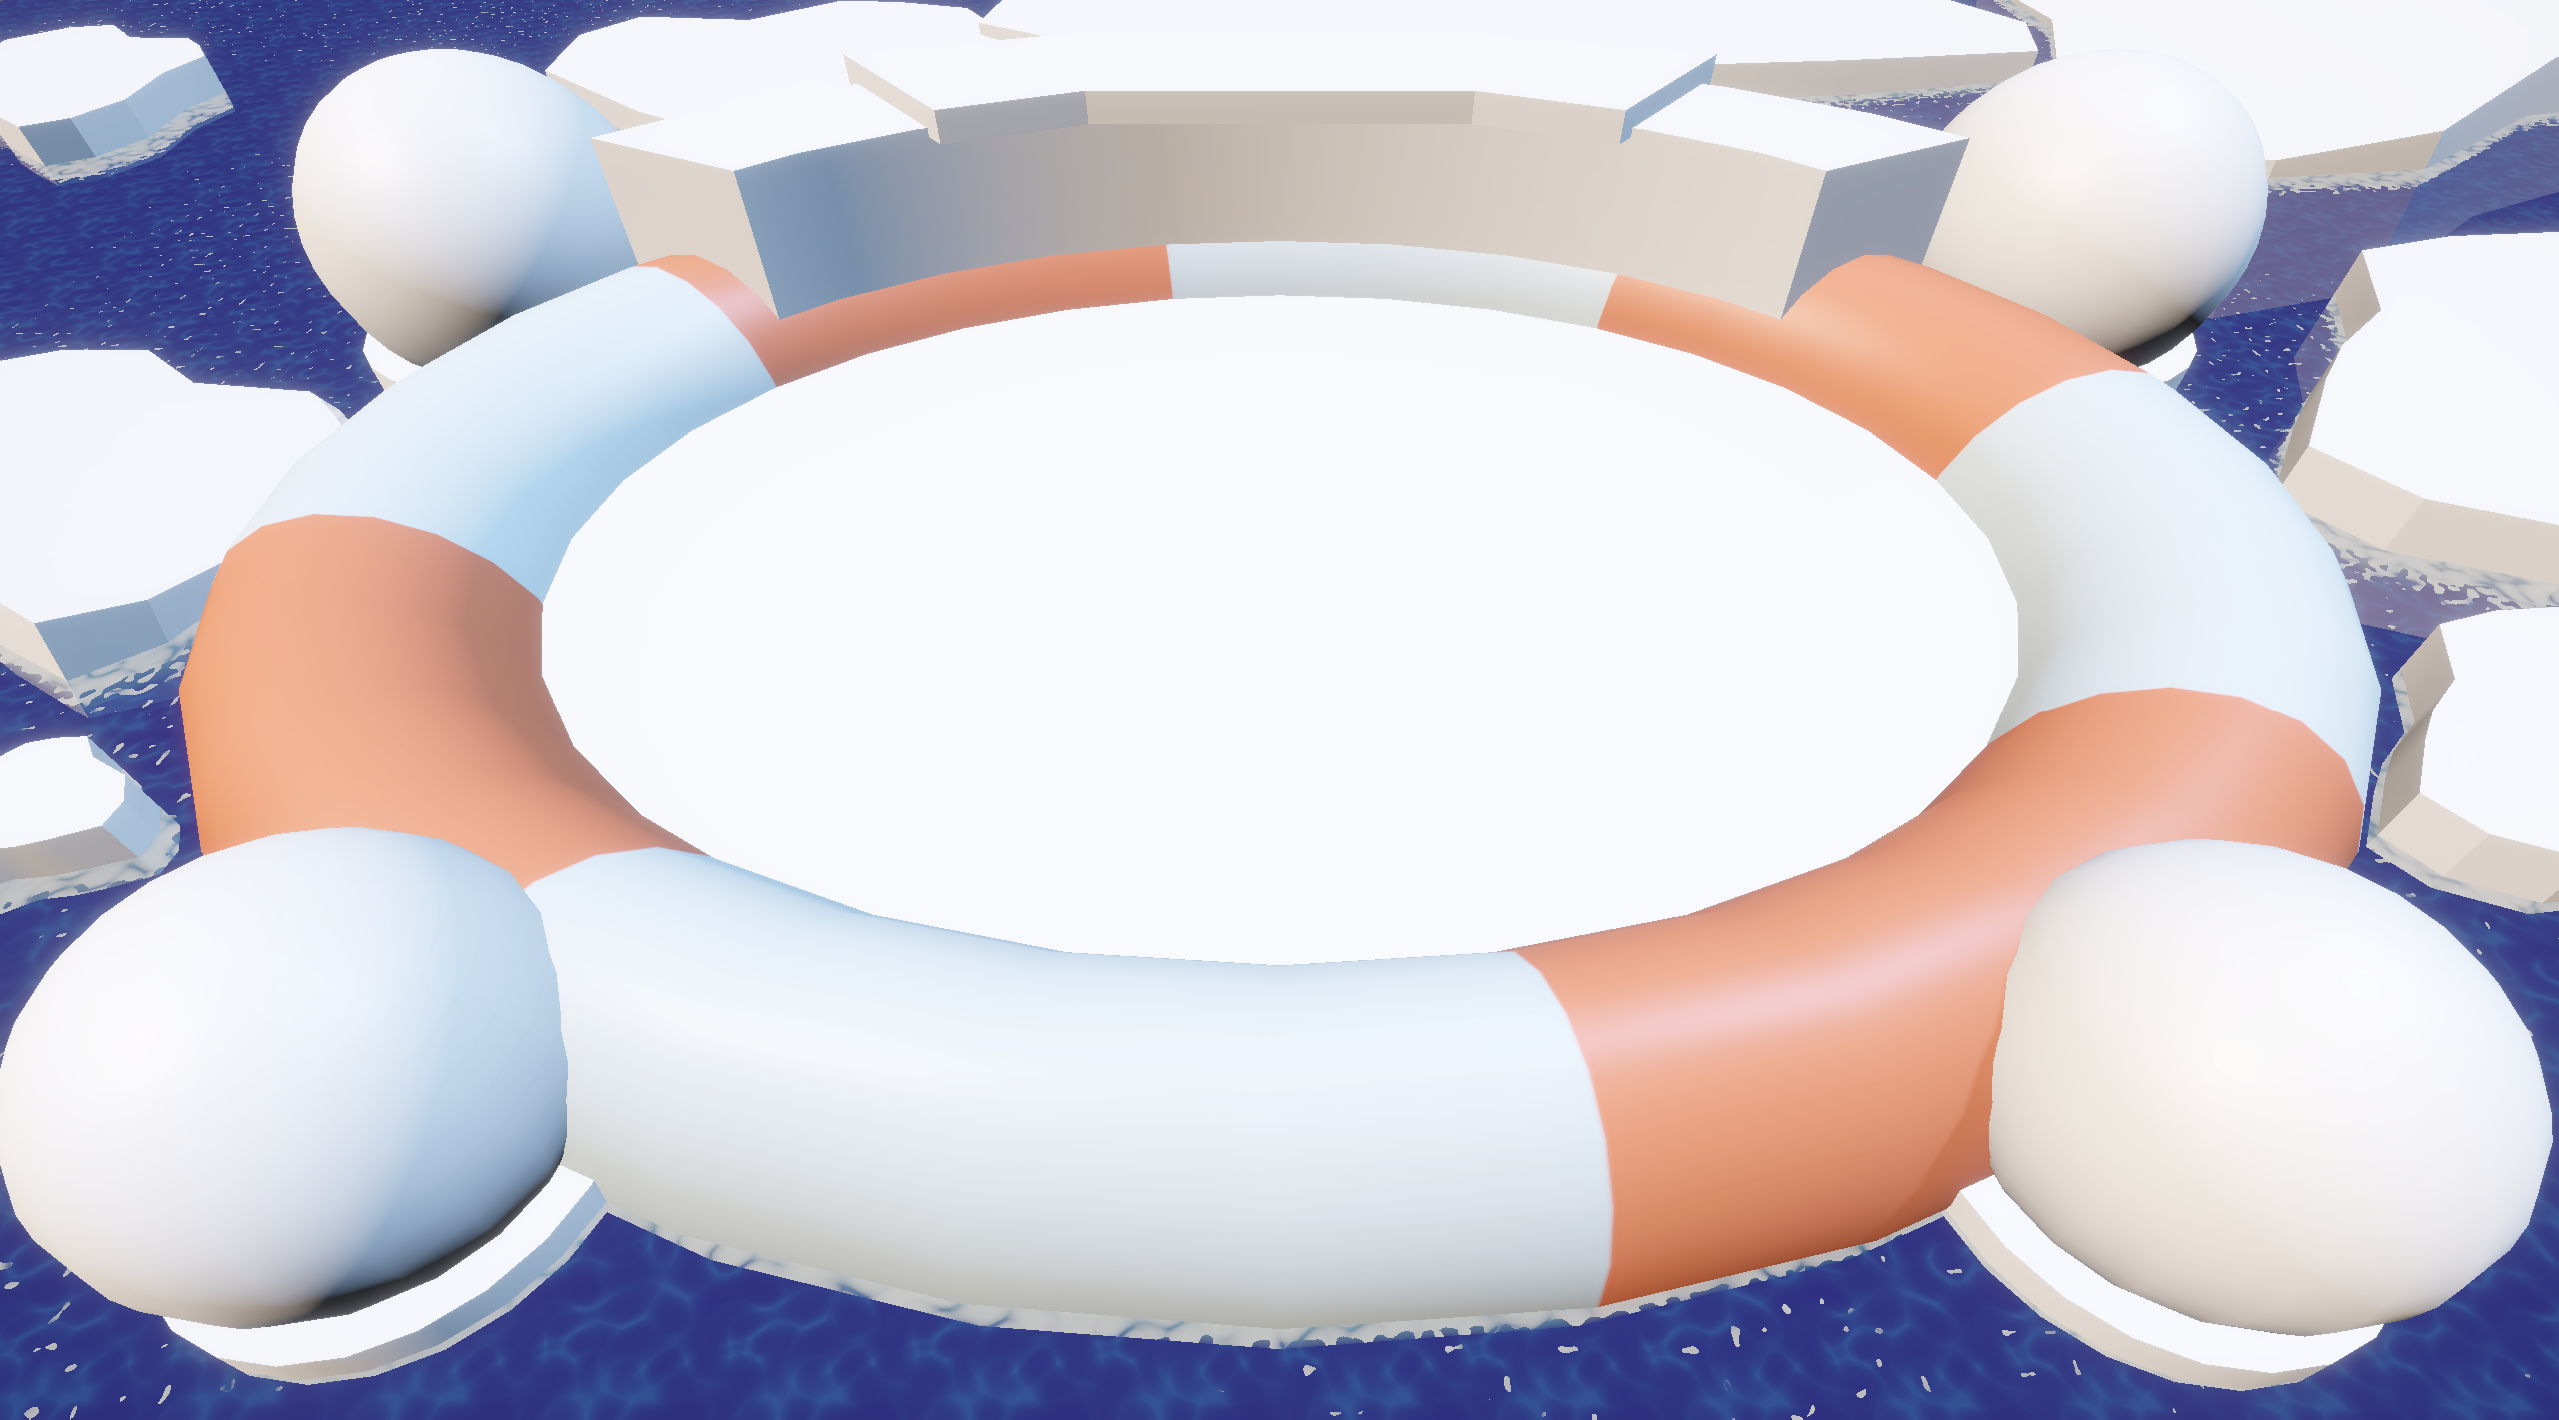
Last but not least, with my spare time I started on a water shader. Water is kind of difficult to get perfectly right and it takes some time to figure out. I'm at a stage where I'm not fully happy yet but I want to wait until the scene comes alive to make more changes.
This is my water as of now:

Next week? Some actual tileable materials to put everything I have done to the test.
Level Blockout
Jens
I've been working on the production of our level blockout to make a nice environment for our penguins to brawl in.
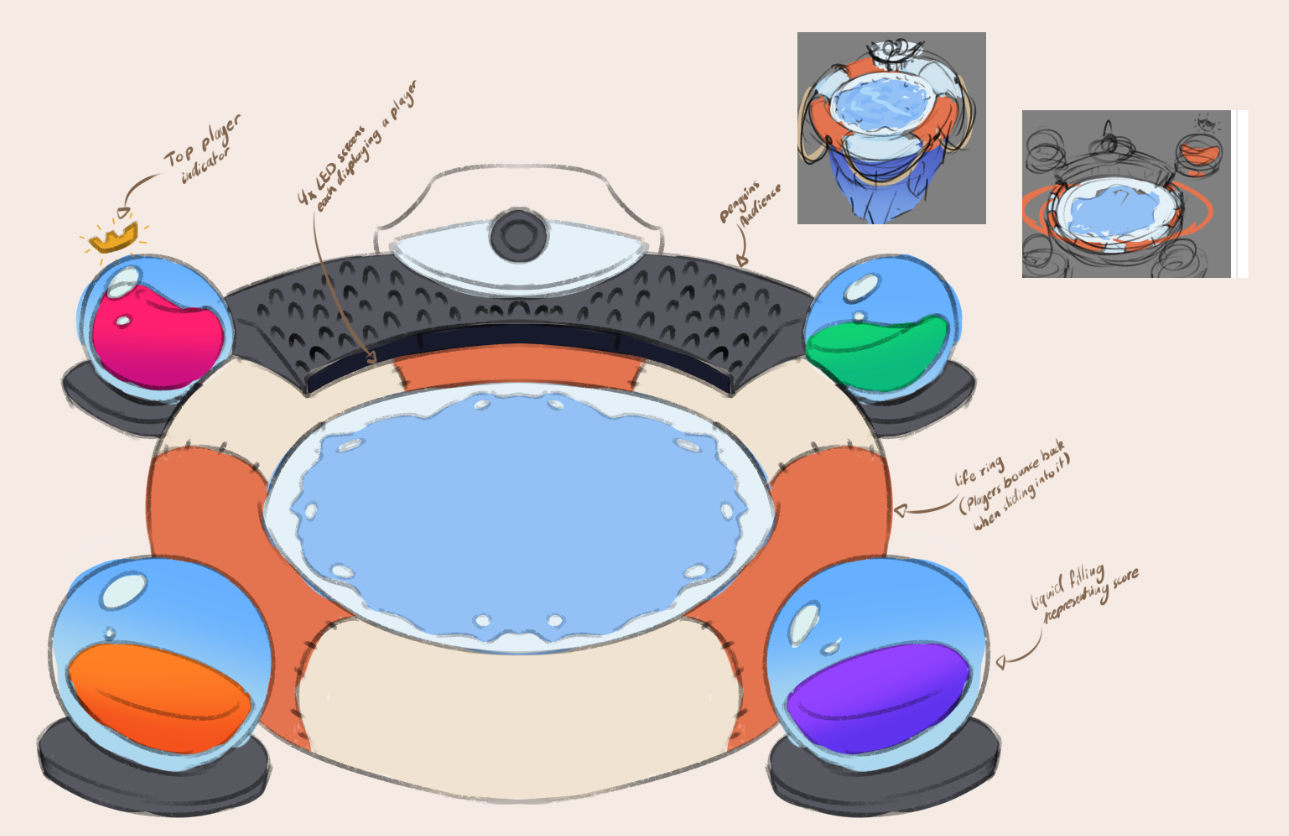
With this great concept art that Ziqqy has provided, I've been chipping away at trying to make everything fit nicely in the screen and make it a nice and pleasing viewing experience.
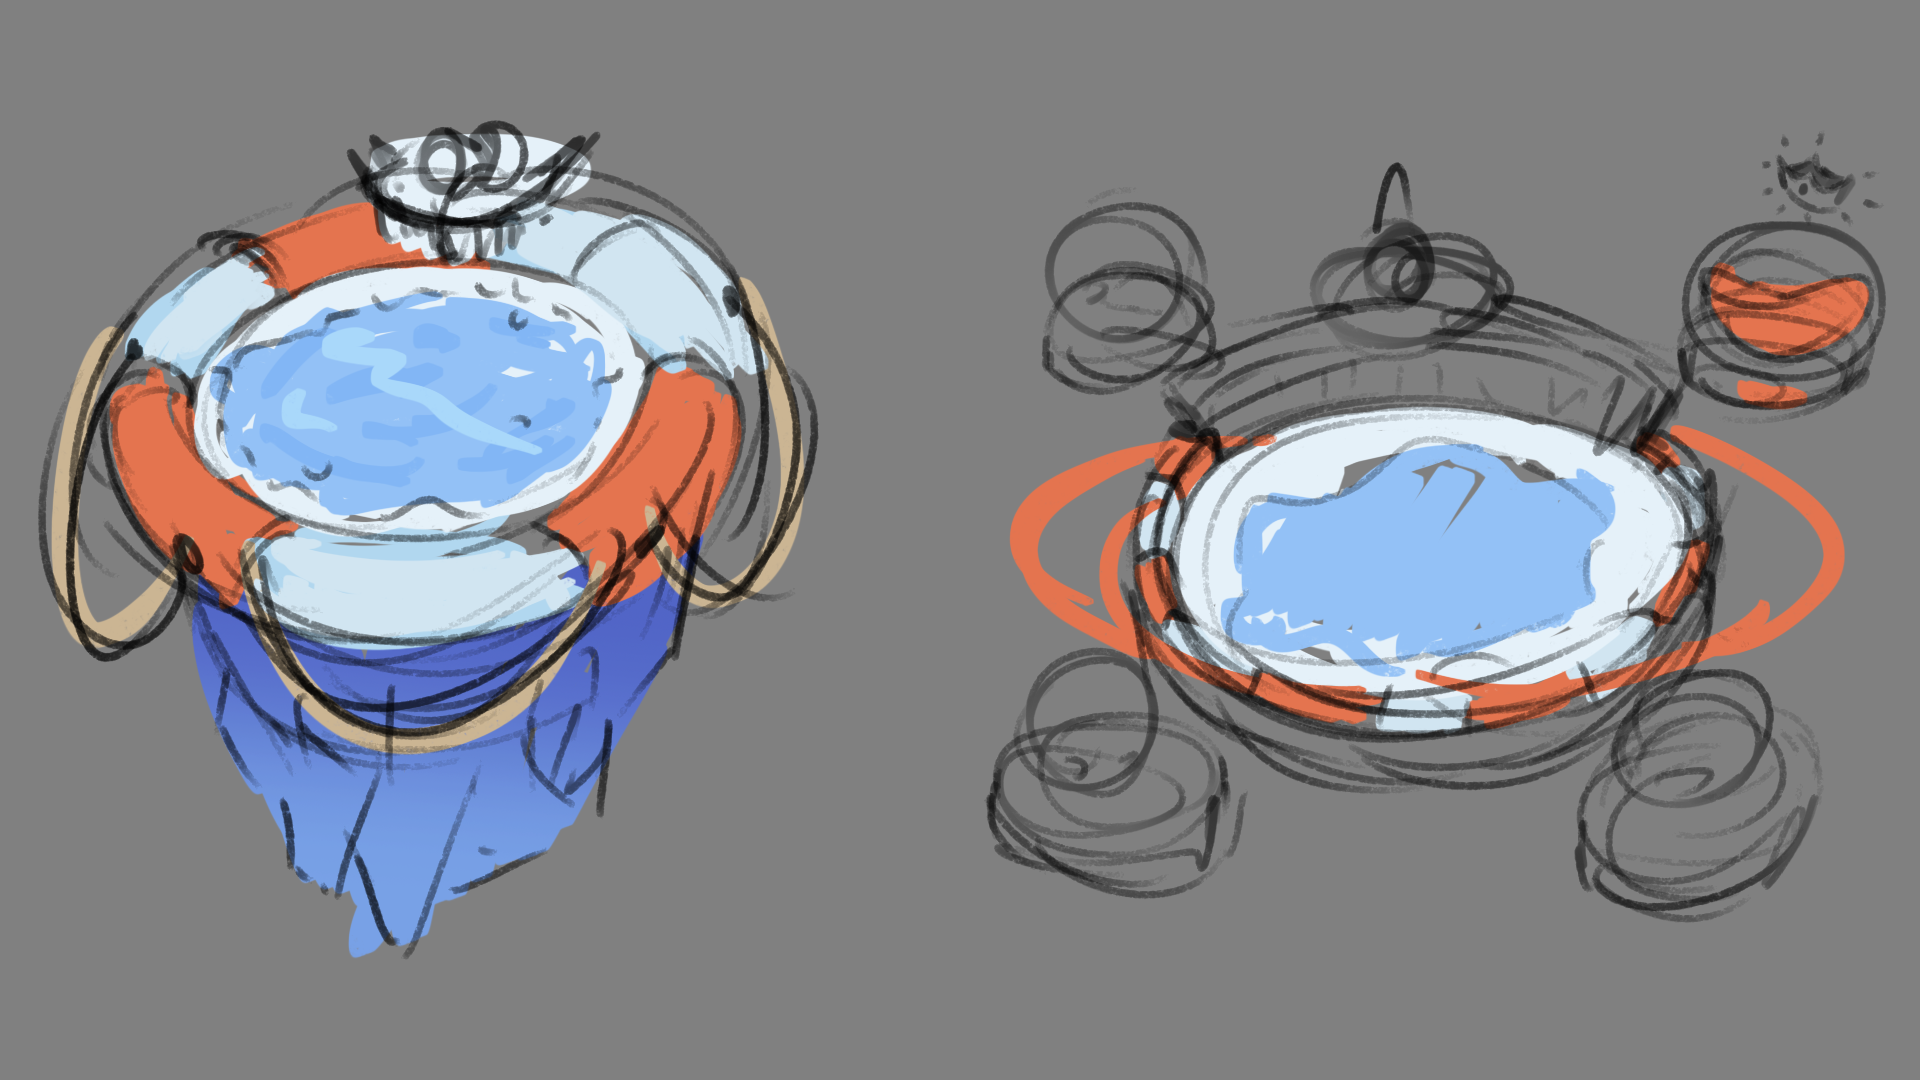
Ziqqy
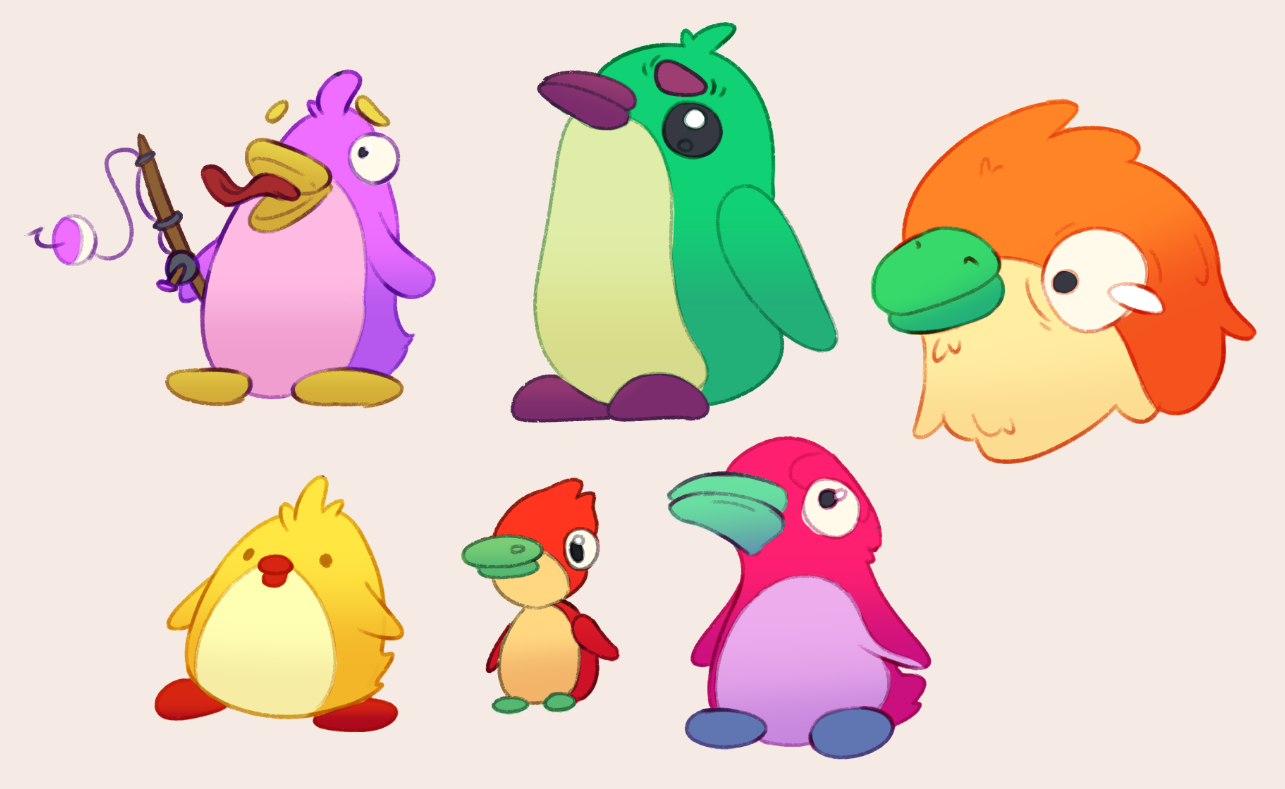
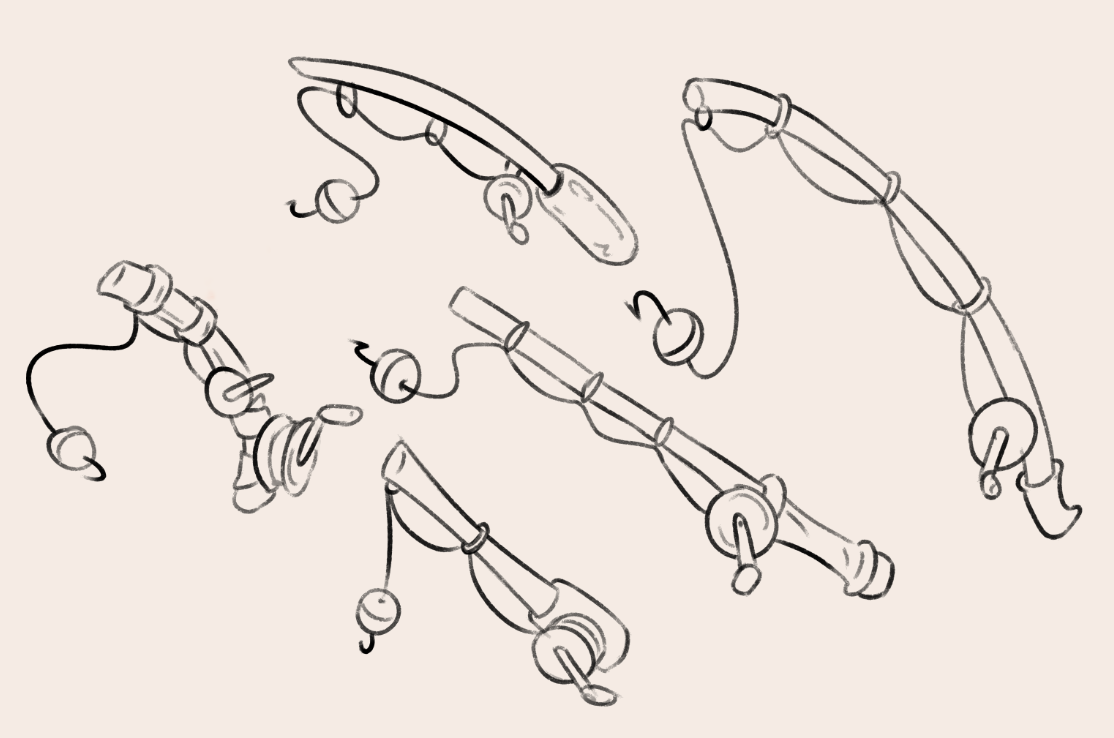
I focused this week on exploring some concepts for the penguins and the fishing rod's overall look and feel, as well as thinking of a way to incorporate most of the UI into the game's environment to make it look more immersive and fun
Coding
Production movement
Arthur
I was quite happy with the movement. So, I refined the code a bit to make it a bit nicer. (Less crashes) In the gif you can see again that the movement works. The sliding is also there but we don't have the reeling physics yet so you can't see it.
Balder's Villainous Preparation
Balder
Good day fellow reelers! Since my villainous scheming phase is over, it is time to get started on implementing the actual plans we discussed. However, for this preparation there's not a lot of interesting things to say.
I will cover the interesting things I did, however most of it was just thinking about code structure and remaking our prototype with a proper design.
Btw, I may or may not know about your friends too. Better behave :)
Implementation
Besides making tasks and distributing then, implementing the prototype in production consisted of rewriting existing code to reduce coupling as much as possible, as well as writing it with as little bugs and good structure.
The main thing I thought about was splitting up things like the cannon into several components that can be replaced with different behaviours. For example, aiming is not its own component which can be replaced with any type of aiming, or targeting, which can be replaced by manual player targeting or automatic targeting.
Cannon AI
Because of the advantage of rewriting my code to be production ready, this opened up a door for me to write a cannon aiming AI. Why would I do this though?
Well during debugging, our group members are not always available, and having to test the game on your own with a single controller and keyboard is not very convenient. So why not add a basic cannon AI that we can use to test and debug the game?
With my new system, it didn't take too long to implement. Another advantage of this is that if the cannon player leaves or disconnects, we can slot in the AI to take over for them, instead of assigning a new unfortunate player onto it.
The AI works by targeting a random player for a random amount of time, if all of the players aren't too close to each other. Whenever to players get close enough, the cannon targets the average position of the players, meaning it tries to hit all players whenever possible.
The Result
This is the resulting cannon AI in the new production build.

Reeling mechanic
Ioana
For me, this week was focused on setting the base framework for the reeling mechanic. I wanted my code to be neat and easy to read and I wanted it to be decoupled and easy to work with. Which is the reason why I spent most of this week making sure that everything is done well. Feature wise, it might not be much, but at least I know I can rely on this code in the upcoming weeks :)
Aiming
When aiming (only when the right joystick is active), a target icon should appear on the closest reelable object within radius. This works as seen below:
Throwing the hook
The hook can be thrown towards the target and retracted. The physics for reeling in the target are not implemented yet,
Pressing the right trigger again early will result in the hook being retracted early.
We hope you liked the work we put in this week, and we can't wait for you to
Come back for next week!
Have a blessed day! 🌟
Leave a comment
Log in with itch.io to leave a comment.